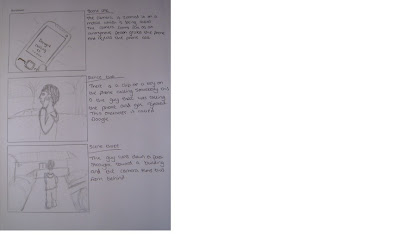
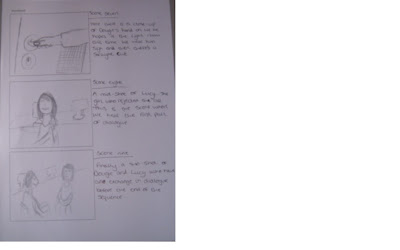
At the beginning of this lesson we had a small problem in which we couldn't find our tape containing all of our filming. Within about ten minutes we managed to find it. We then had to upload all of our film on to Adobe Premiere Pro CS4. Once we had our film uploaded we began to edit. Me, Rosie and Tom found it really easy to use this programme so we didn't encounter many difficulties. We started by deleting all the scenes we did not need and were left with the important sho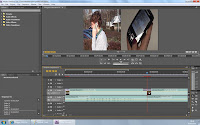 ts. We put all the shots into an order and then decided on the transitions we would use. For the majority of the sequence we tended to use straight cuts, we used these because the shots were of 'Dougie' from different points of view. We used one transition which was called cubespin (picture to left), it turned the screen. The first shot was somebody rejecting a call and after the screen turns it shows the other end of the phone call so we can see who is making it.
 ts. We put all the shots into an order and then decided on the transitions we would use. For the majority of the sequence we tended to use straight cuts, we used these because the shots were of 'Dougie' from different points of view. We used one transition which was called cubespin (picture to left), it turned the screen. The first shot was somebody rejecting a call and after the screen turns it shows the other end of the phone call so we can see who is making it.
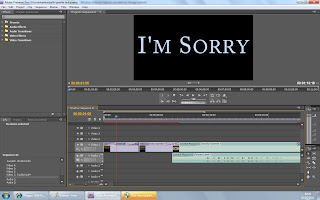
We added in some Titles and credits using dissolving transitions to begin and finish off the sequence. We created these scenes like the one to the one to the left using some tools on the editing programme.
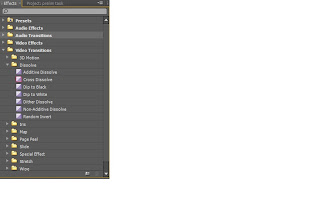 To add in transitions such as the cube spin we simply dragged the desired one from a side bar in between the two scenes in the sequence that we wanted.